This post shows how to setup tomcat with eclipse, in order to deploy applications from within eclipse [including Servlet 3.x projects]. This post is created with following environments, but should be well applicable for your environments:
- Luna Service Release 2 (4.4.2)
- Tomcat 8.0.24
- JDK 1.7
Let’s get started.
In Eclipse, Open Window -> Show View -> Servers
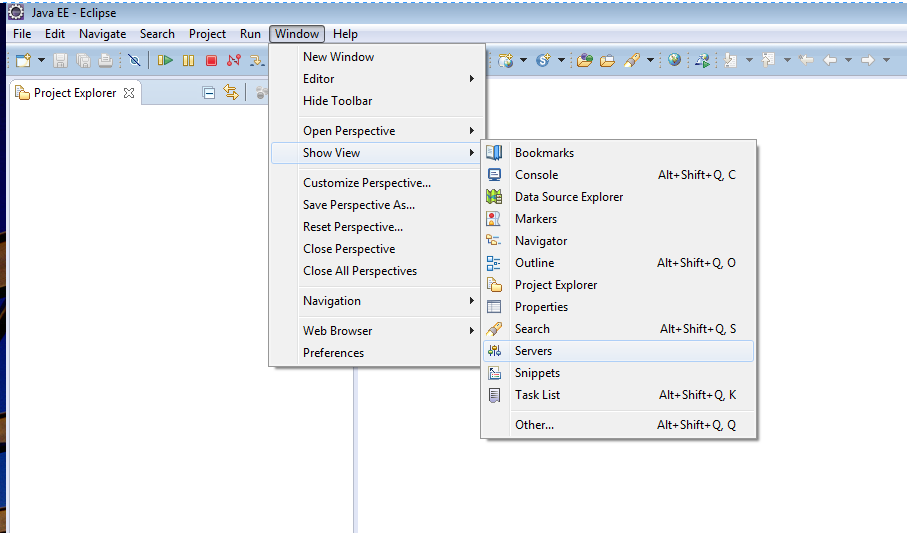
Select a Server (Tomcat 8 in my case, yours might be different).
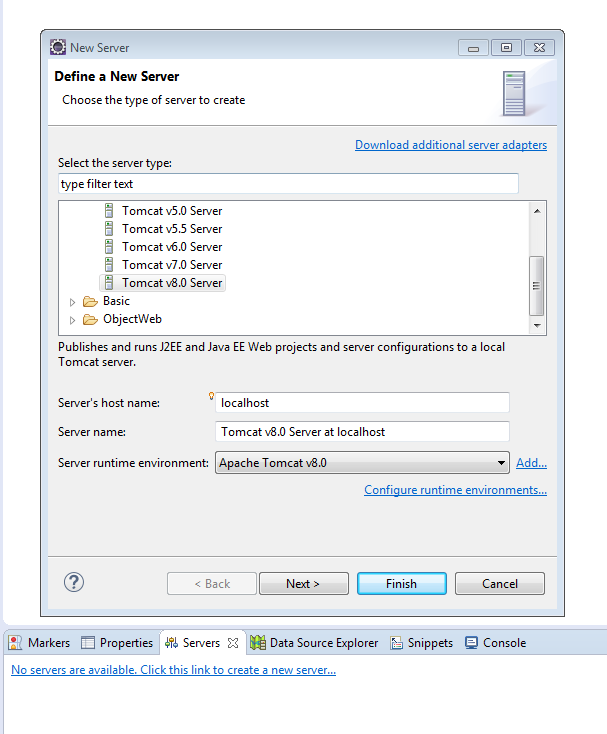
Click Next, select the folder where you unzipped the tomcat. Click Finish. You should see the server now.
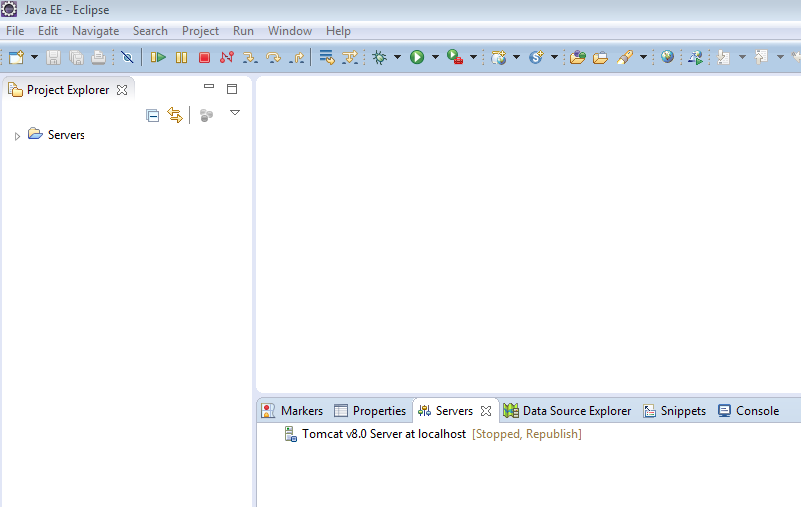
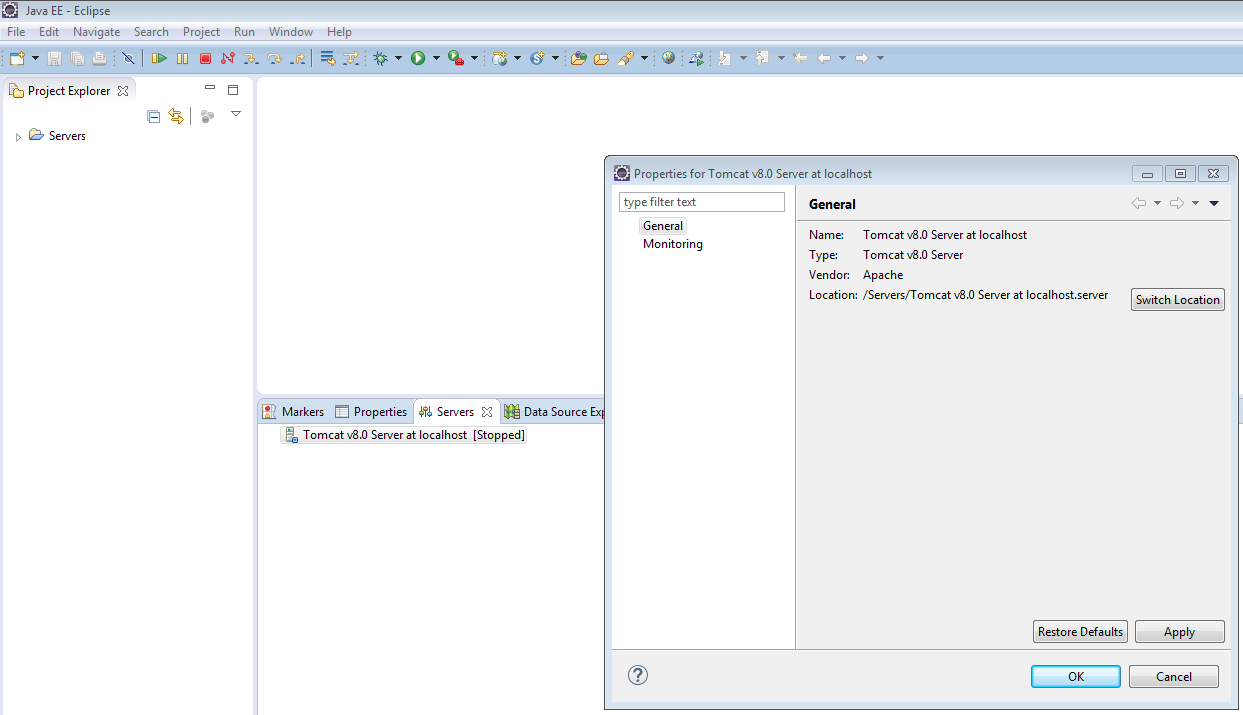
Right click on Server -> properties
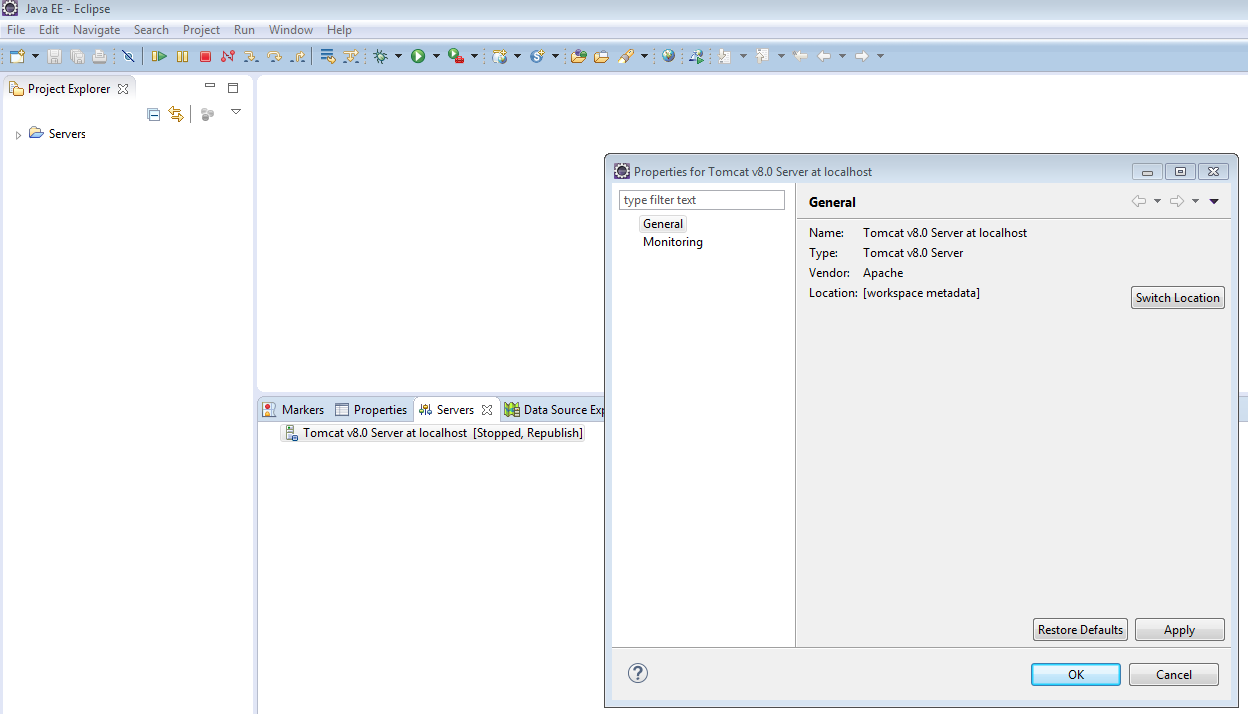
The Location mentioned is NOT correct and needs updating. Click on Switch Location. Apply then OK.
Again, Double click on Server, you should see following configuration.
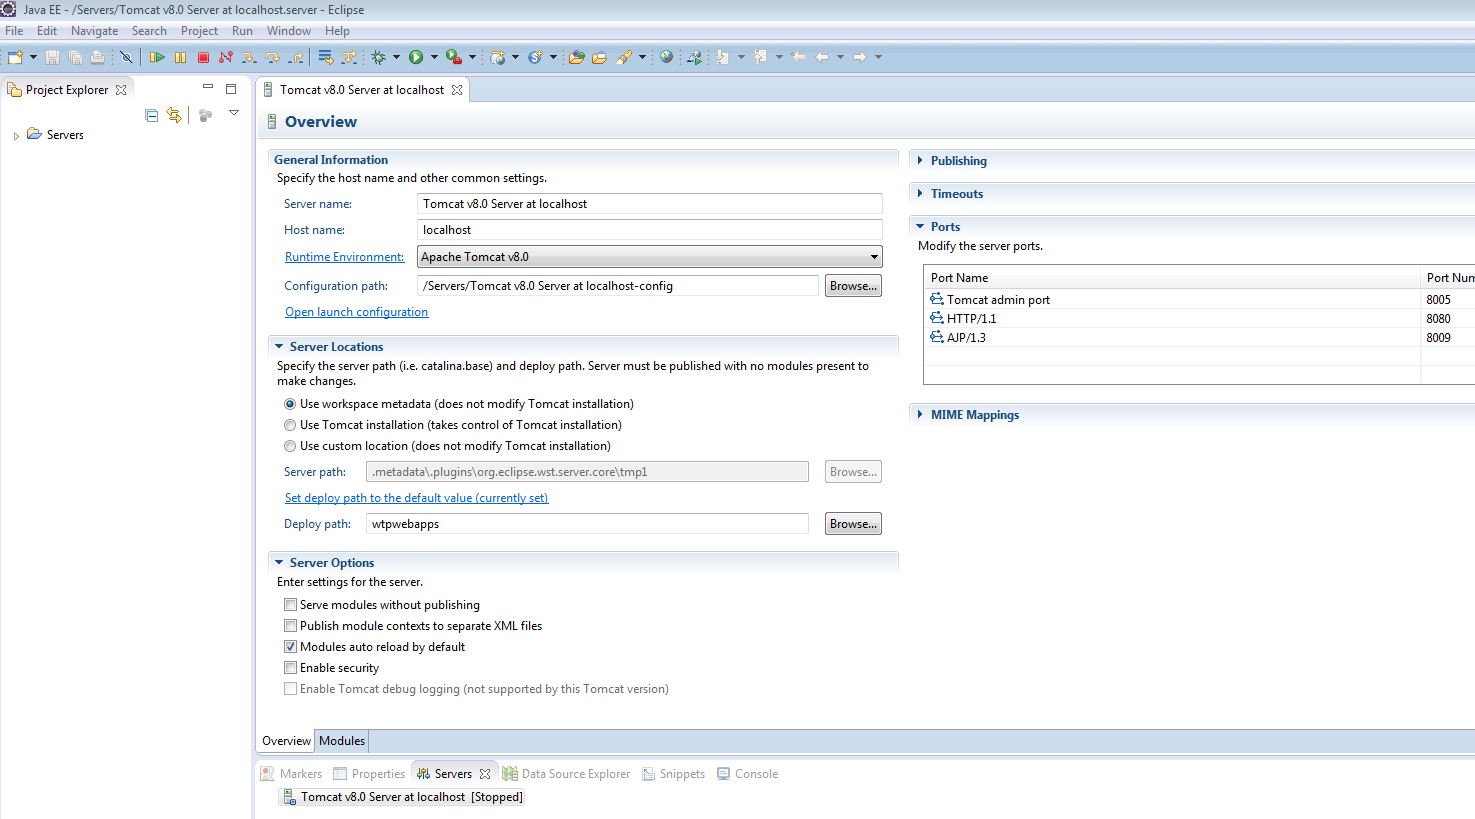
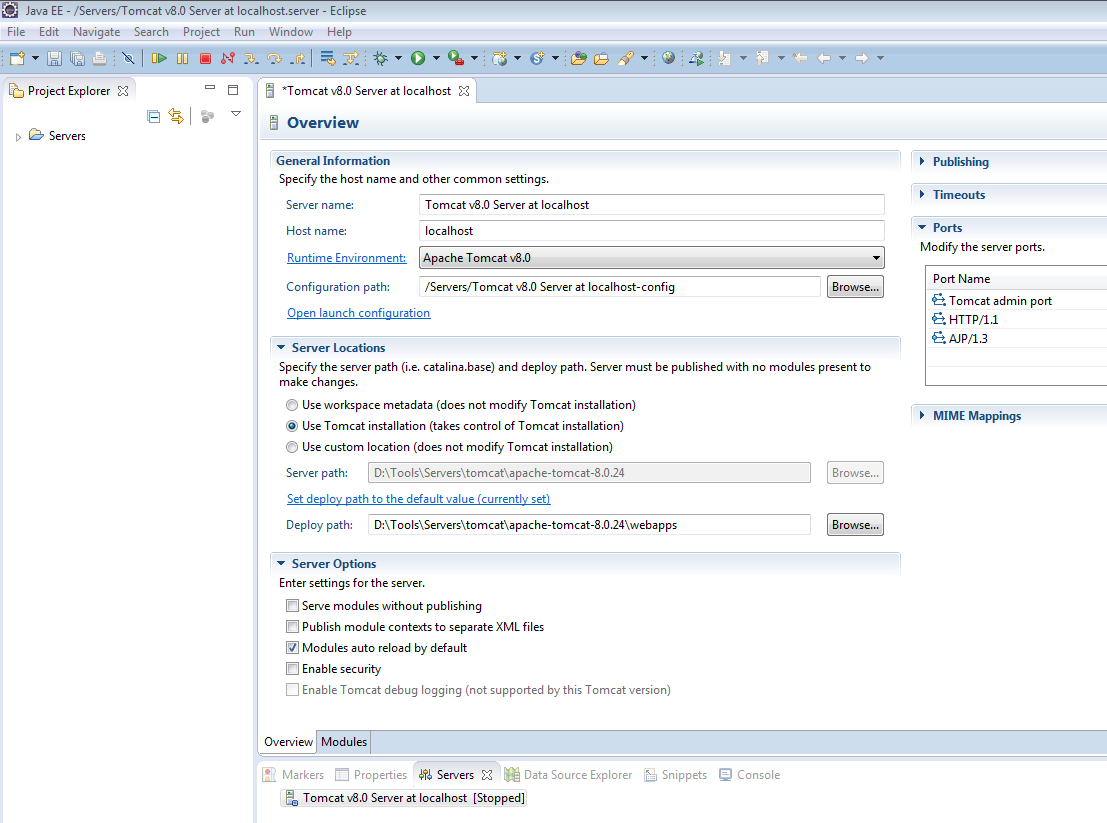
Change it as shown below. For Server Path, refer to your local tomcat directory. For Deploy path refer to webapps folder inside that tomcat directory.
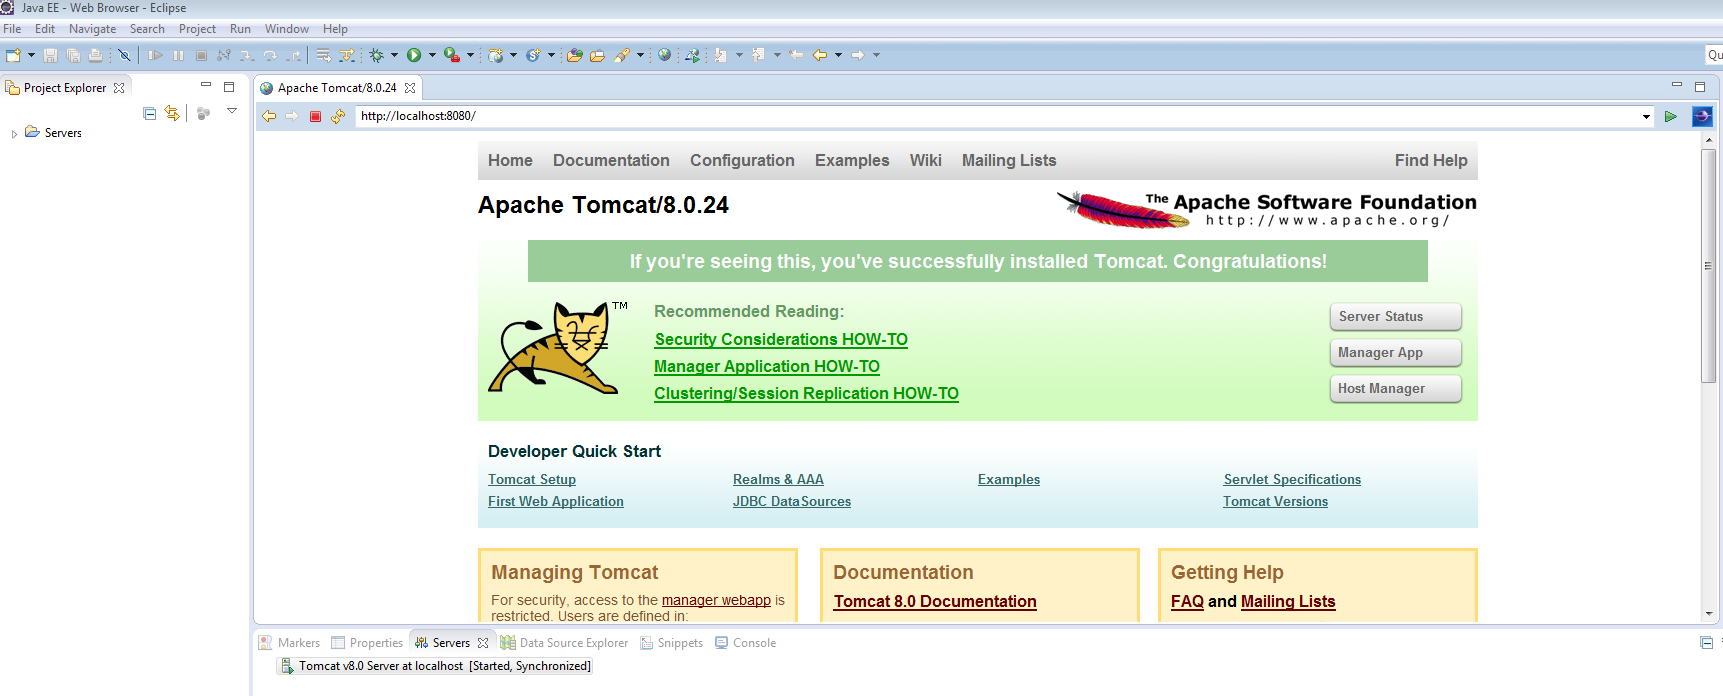
Save and close it. You should see your server gets started. Goto http://localhost:8080 [8080 is the default port but you may change it]. You should see welcome page.
Server is up. Now let’s deploy something and test that.
I will import one of my maven project into eclipse. Once imported, perform following:
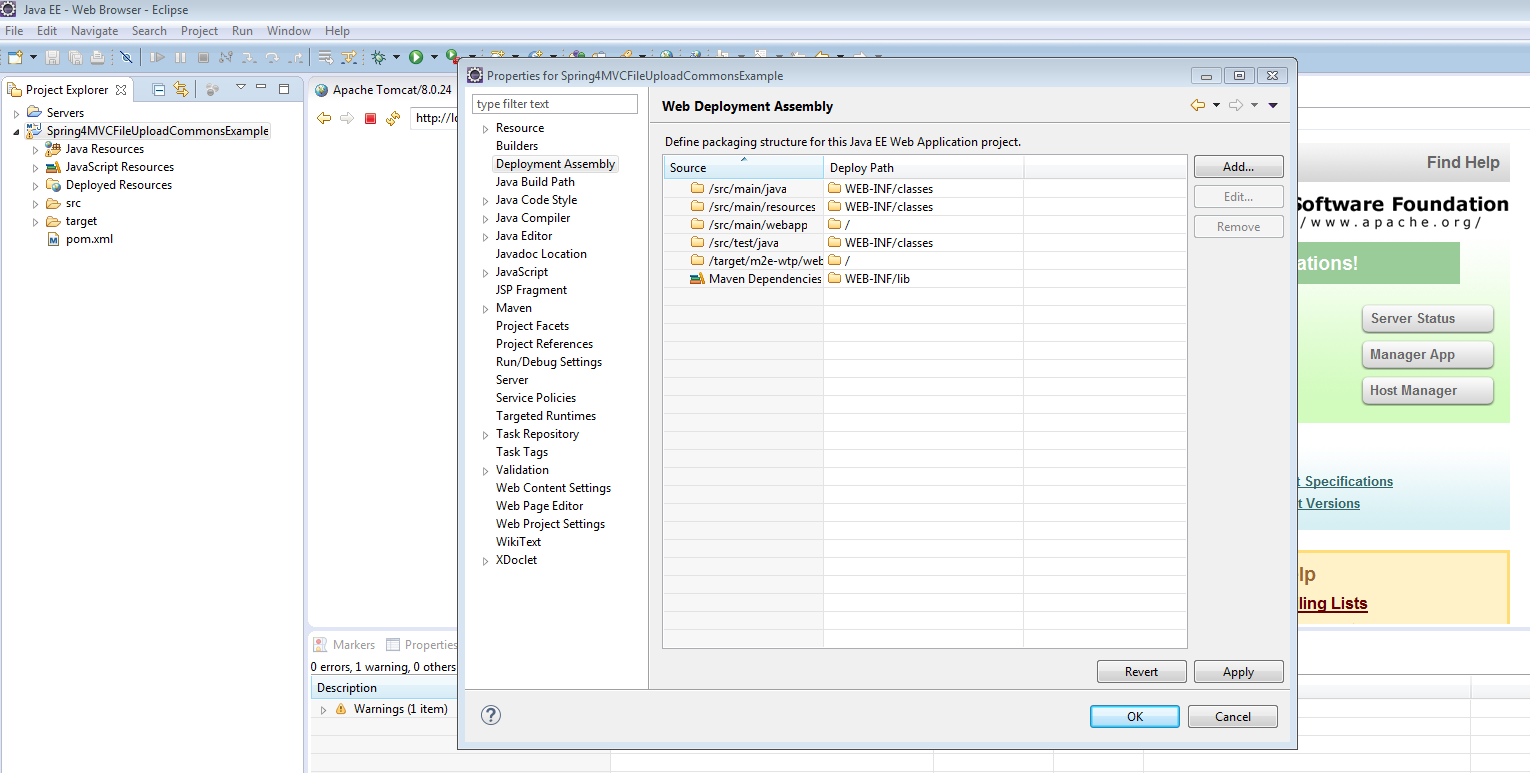
- right click on your project and choose properties.
- click on Deployement Assembly.
- click add
- click on “Java Build Path Entries”
- select “Maven Dependencies”
- click Finish.
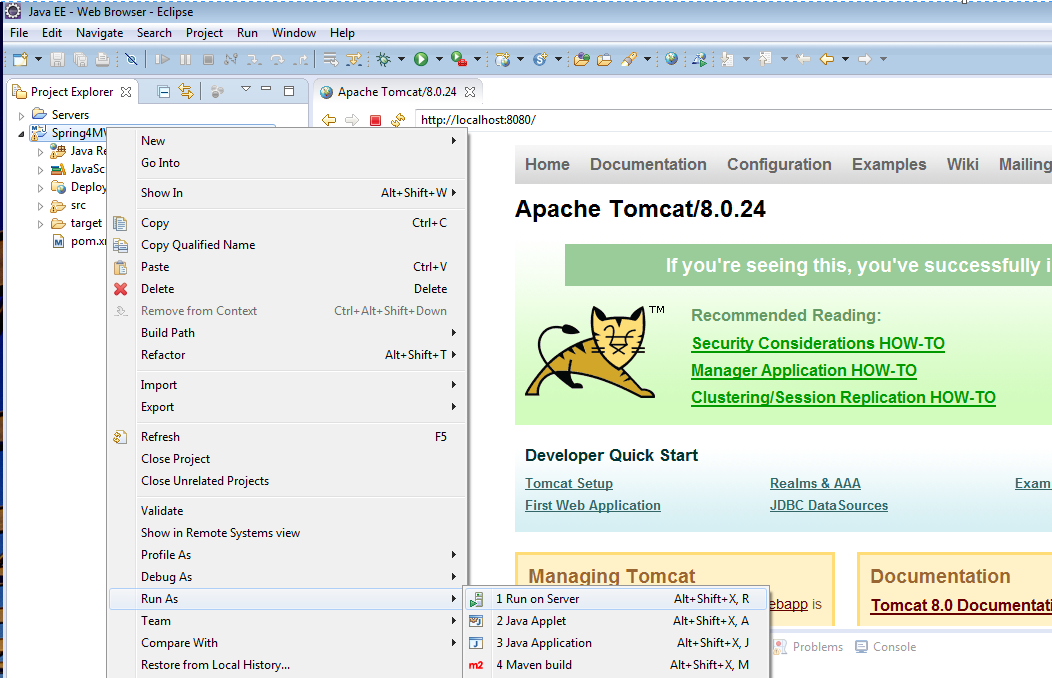
Now, Right click project – > Run As -> Run on server.
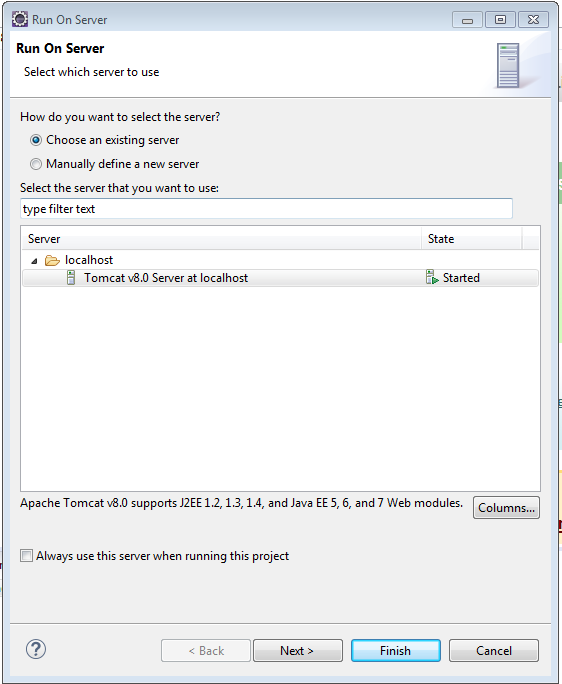
You newly configured tomcat should be available to be deployed on. Next.
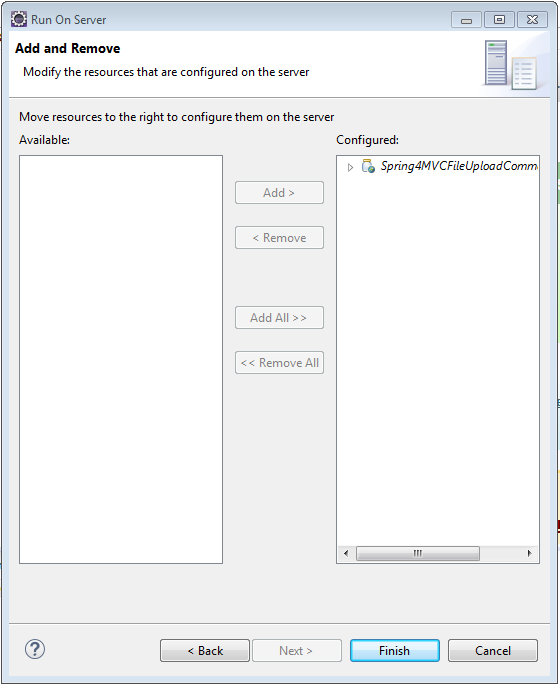
You should see your project being added. Click on Finish.
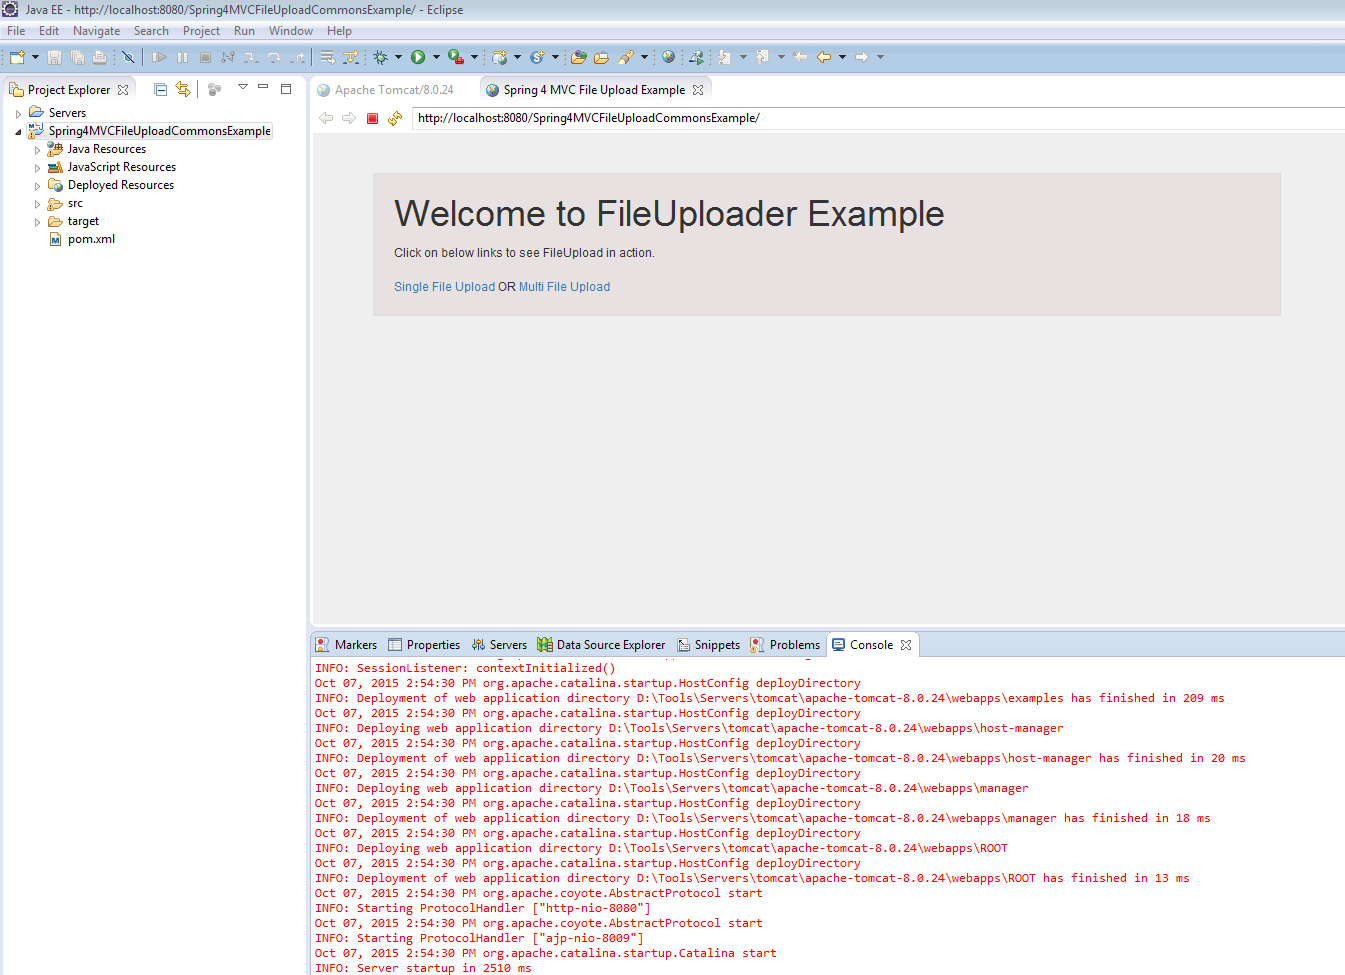
You will be prompted for server restart, restart it. Deployment will be done, and you should see the home page of your app.
Voila. In case of any issue, don’t forget to contact me, together we will find the solution for your problem.
If you like tutorials on this site, why not take a step further and connect me on Facebook , Google Plus & Twitter as well? I would love to hear your thoughts on these articles, it will help improve further our learning process.