In this post, we will learn how to setup MySQL on our local machines/system. This is one of the possible way to install, although you may prefer another approaches.
We will be installing both workbench and MySQL Server together using MySQL Community Server
Let’s begin.
Step 1: Download Community Server from here.
Current version is MySQL Community Server 5.6.25. It includes MySQL server, MySQL workbench and necessary connectors/plugins/tools.
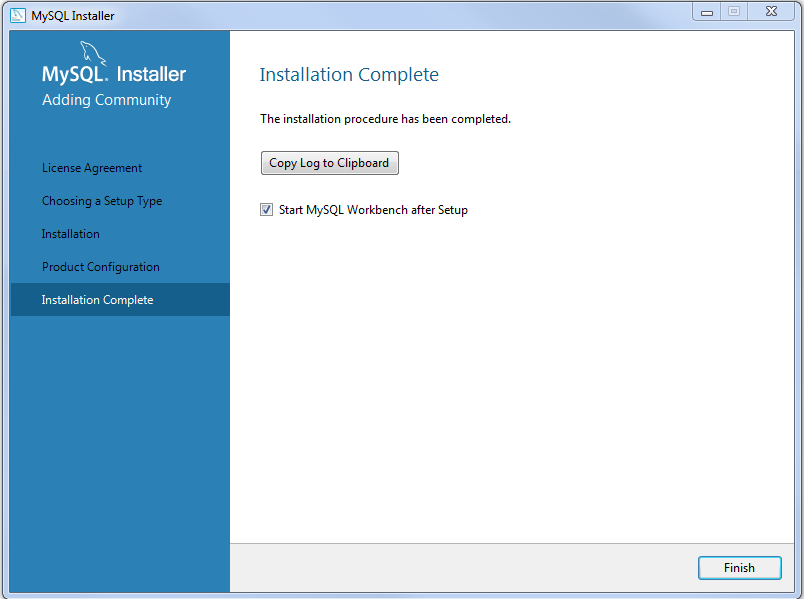
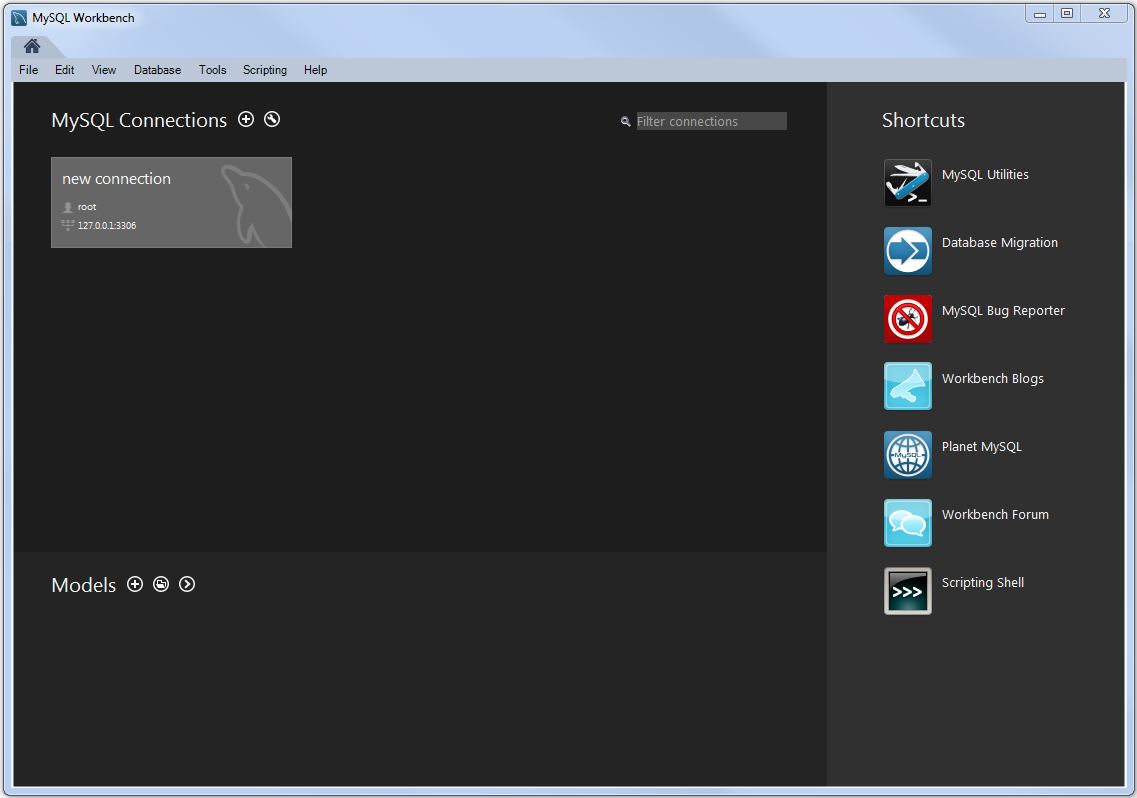
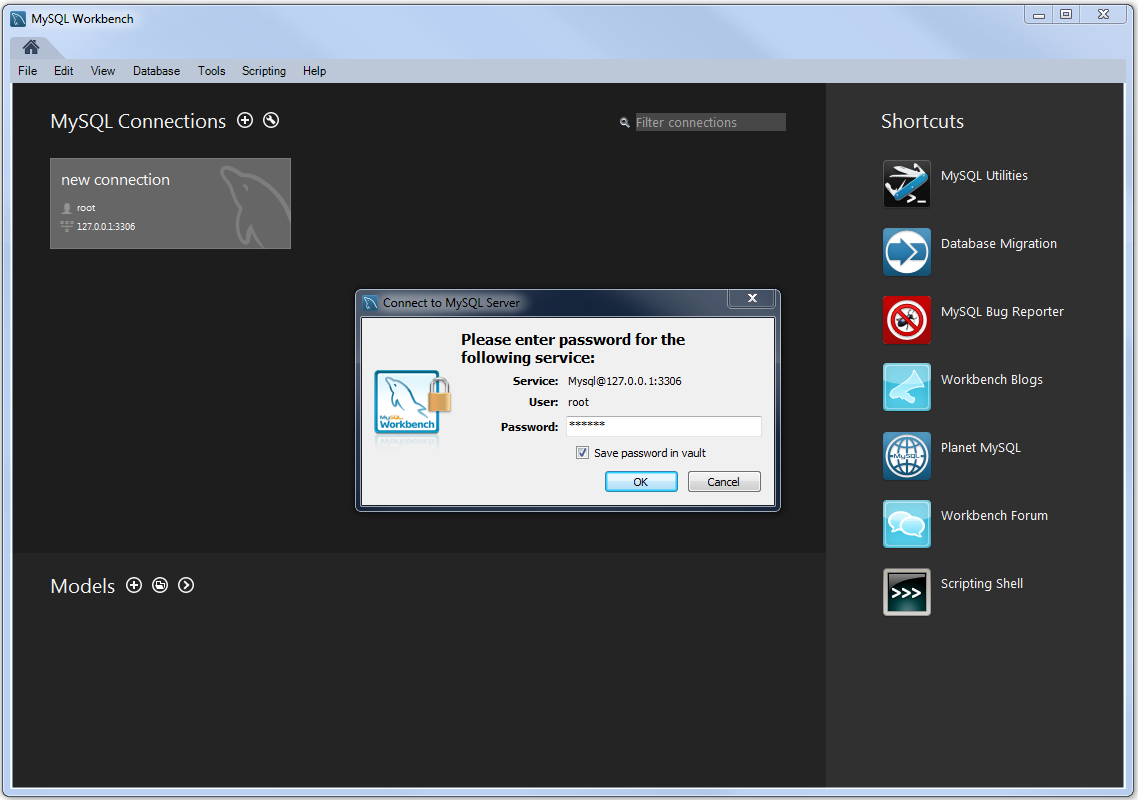
Once download completed, Click on installer and follow default installation.
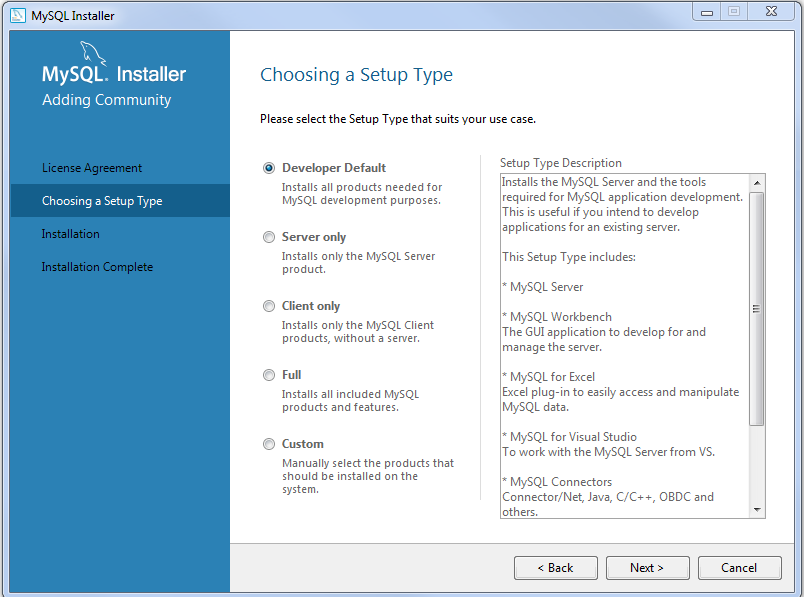
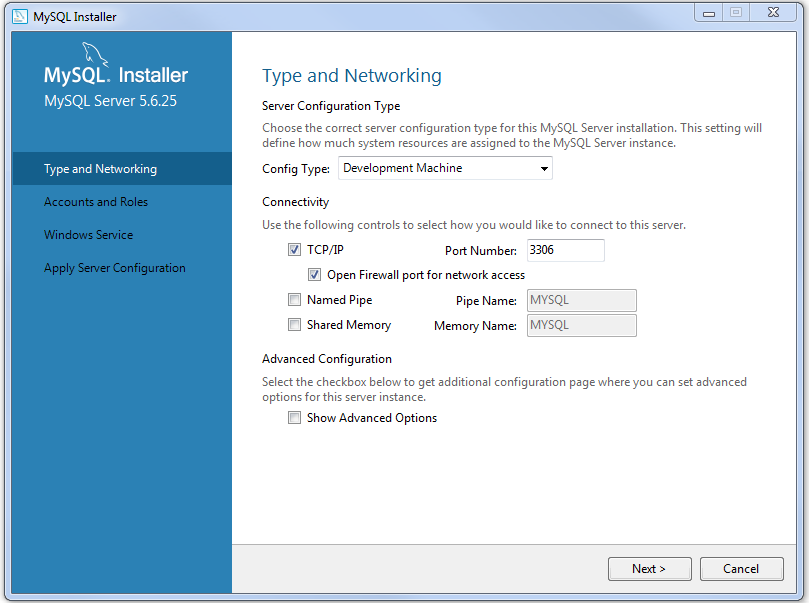
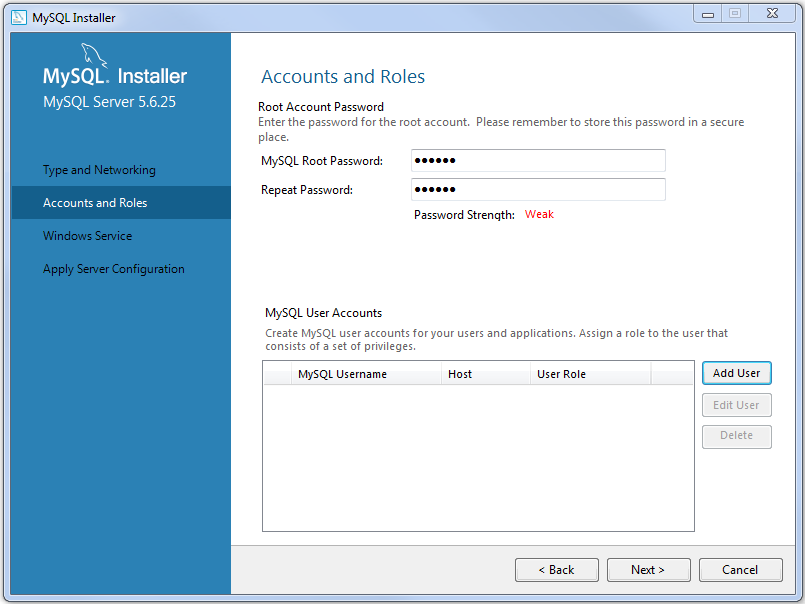
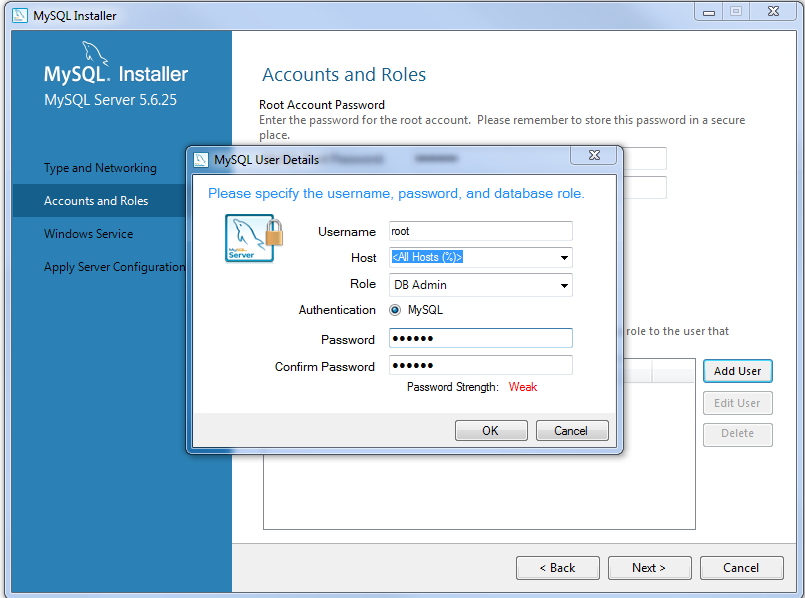
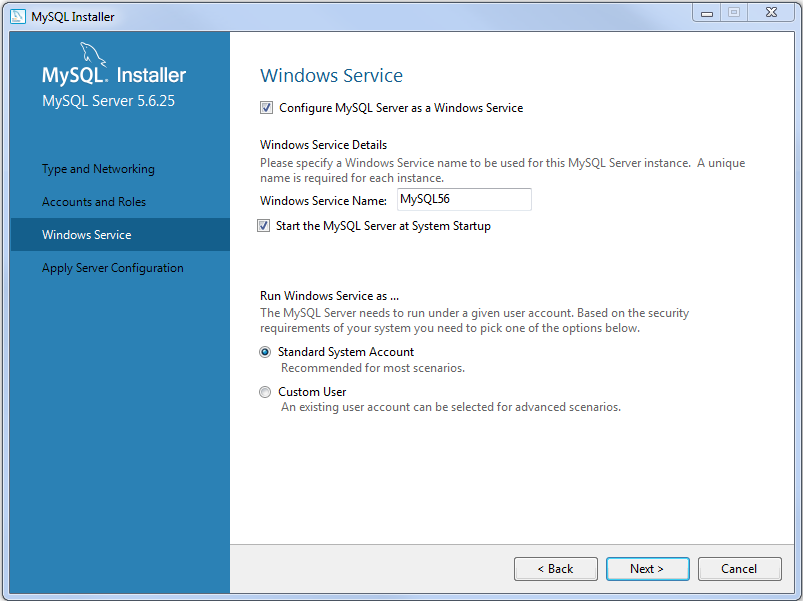
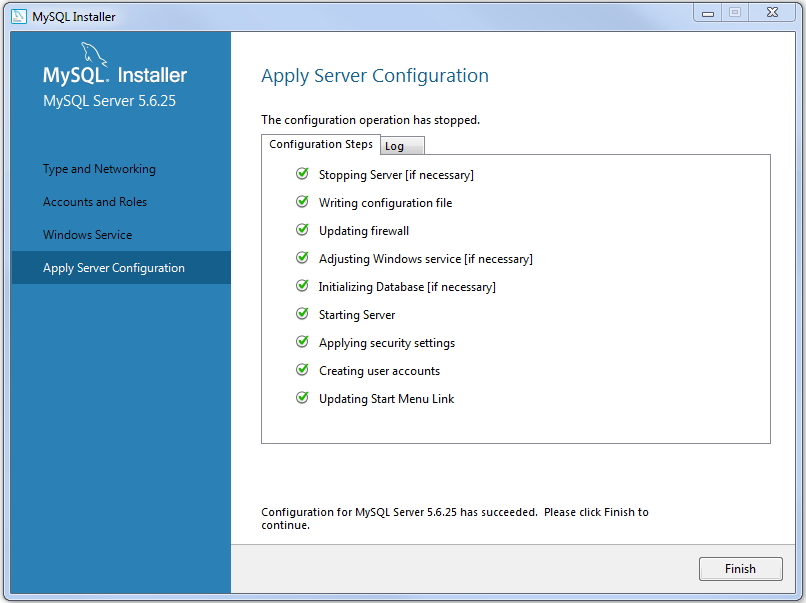
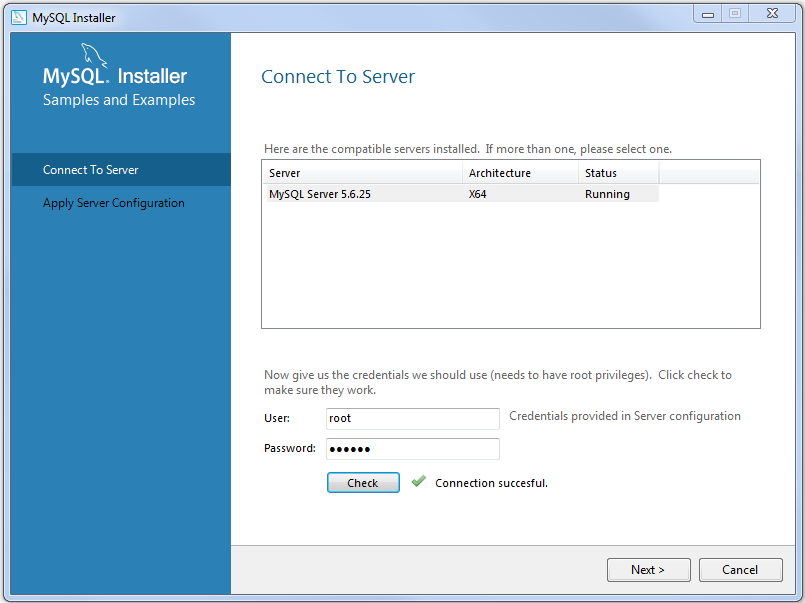
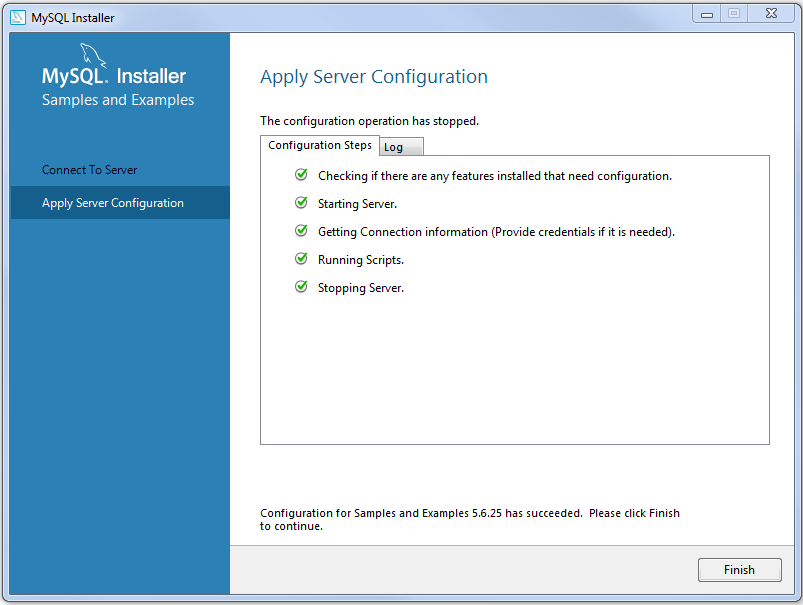
Below are the screenshots of installation process:

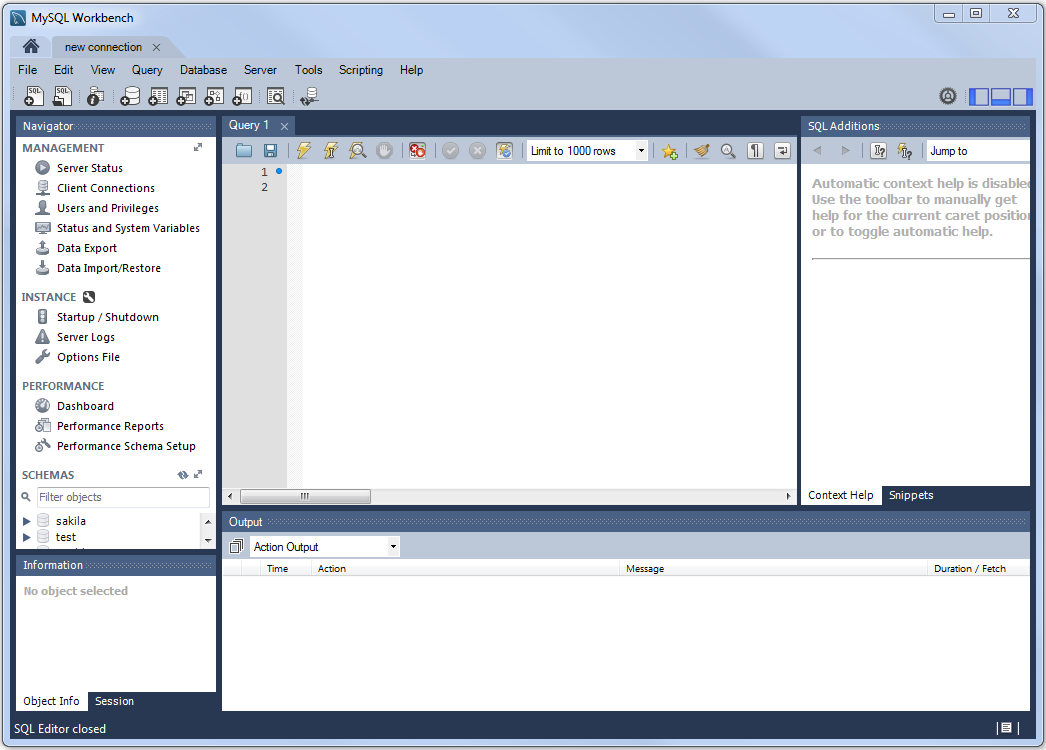

Step 2: Once the installation done, You can create a new Schema/database [look at upper toolbar on workbench for quick links]. In MySQL, a schema is synonymous with a database.
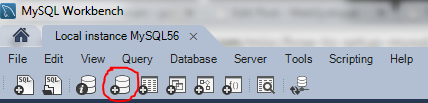
Click on highlighted link to create a schema, it will open a popup and guide you to create a Schema.
Alternatively, you can execute following SQL in SQL tab from above toolbar to create the database.
$>create DATABASE mydatabase;
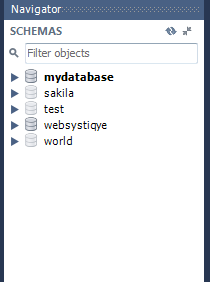
Step 3: Once the schema created, it will be shown in Navigator pane on left. You may decide to set it as Default schema by select schema->Right click->Set As Default Schema.
Step 4: Grant necessary privileges so that your user can access the tables/other artifacts from that database. Execute following SQL inside an SQL tab.
$> GRANT ALL PRIVILEGES ON mydatabase.* TO “myuser”@”localhost” IDENTIFIED BY “mypassword”;
User, password mentioned here are the one your external application will use to connect to database. The quotes mentioned above are required.
Step 5: Now you can access your database from your external applications using following url:
URL : jdbc:mysql://localhost:3306/mydatabase
user/password : myuser/mypassword as defined in step 4. Port mentioned in URL is the default port used but you can change it using workbench.
That’s it. You may do everything we discussed above using mysql command line option instead of workbench.
In case you are interested to see MySQL in action, Post Spring 4 MVC + Hibernate4 + MySQL + Maven integration example using annotations contains a real-world example of a Spring MVC based web application, connecting to MySQL using Hibernate.
References
If you like tutorials on this site, why not take a step further and connect me on Facebook , Google Plus & Twitter as well? I would love to hear your thoughts on these articles, it will help improve further our learning process.