This post shows how to use role based login in Spring Security 4 using Hibernate setup. That means redirecting users to different URLs upon login according to their assigned roles, this time along with Hibernate setup. Let’s get going.
This post complements the post Spring Security 4 Hibernate Annotation Example, and simply adds the Role based login functionality to that post. Since this post is 99% same in all regards to post Spring Security 4 Hibernate Annotation Example except few changes, we will not repeat that code here. Instead, only the changes are shown below.
- Spring Boot+AngularJS+Spring Data+Hibernate+MySQL CRUD App
- Spring Boot REST API Tutorial
- Secure Spring REST API using OAuth2
- Spring Boot WAR deployment example
- Spring Boot Introduction + Hello World Example
- AngularJS+Spring Security using Basic Authentication
- Secure Spring REST API using Basic Authentication
- Spring 4 Caching Annotations Tutorial
- Spring 4 Cache Tutorial with EhCache
- Spring MVC 4+Spring Security 4 + Hibernate Integration Example
- Spring 4 MVC+JPA2+Hibernate Many-to-many Example
- Spring 4 Email Template Library Example
- Spring 4 Email With Attachment Tutorial
- Spring 4 Email Integration Tutorial
- Spring MVC 4+JMS+ActiveMQ Integration Example
- Spring 4+JMS+ActiveMQ @JmsLister @EnableJms Example
- Spring 4+JMS+ActiveMQ Integration Example
- Spring MVC 4+AngularJS Example
- Spring MVC 4+AngularJS Routing with UI-Router Example
- Spring MVC 4 HelloWorld – Annotation/JavaConfig Example
- Spring MVC 4+Hibernate 4+MySQL+Maven integration example
- Spring 4 Hello World Example
- Spring Security 4 Hello World Annotation+XML Example
- Hibernate MySQL Maven Hello World Example (Annotation)
- TestNG Hello World Example
- JAXB2 Helloworld Example
- Spring Batch- Read a CSV file and write to an XML file
Step 1: Create a NEW Custom Success Handler
Goal of this class is to provide custom redirect functionality we are looking for.
package com.websystique.springsecurity.configuration;

import java.io.IOException;
import java.util.ArrayList;
import java.util.Collection;
import java.util.List;

import javax.servlet.http.HttpServletRequest;
import javax.servlet.http.HttpServletResponse;

import org.springframework.security.core.Authentication;
import org.springframework.security.core.GrantedAuthority;
import org.springframework.security.web.DefaultRedirectStrategy;
import org.springframework.security.web.RedirectStrategy;
import org.springframework.security.web.authentication.SimpleUrlAuthenticationSuccessHandler;
import org.springframework.stereotype.Component;

@Component
public class CustomSuccessHandler extends SimpleUrlAuthenticationSuccessHandler{

	private RedirectStrategy redirectStrategy = new DefaultRedirectStrategy();

    @Override
    protected void handle(HttpServletRequest request,
      HttpServletResponse response, Authentication authentication) throws IOException {
        String targetUrl = determineTargetUrl(authentication);

        if (response.isCommitted()) {
            System.out.println("Can't redirect");
            return;
        }

        redirectStrategy.sendRedirect(request, response, targetUrl);
    }

    protected String determineTargetUrl(Authentication authentication) {
    	String url="";

        Collection<? extends GrantedAuthority> authorities =  authentication.getAuthorities();

		List<String> roles = new ArrayList<String>();

		for (GrantedAuthority a : authorities) {
			roles.add(a.getAuthority());
		}

		if (isDba(roles)) {
			url = "/db";
		} else if (isAdmin(roles)) {
			url = "/admin";
		} else if (isUser(roles)) {
			url = "/home";
		} else {
			url="/accessDenied";
		}

		return url;
    }

    public void setRedirectStrategy(RedirectStrategy redirectStrategy) {
        this.redirectStrategy = redirectStrategy;
    }
    protected RedirectStrategy getRedirectStrategy() {
        return redirectStrategy;
    }

	private boolean isUser(List<String> roles) {
		if (roles.contains("ROLE_USER")) {
			return true;
		}
		return false;
	}

	private boolean isAdmin(List<String> roles) {
		if (roles.contains("ROLE_ADMIN")) {
			return true;
		}
		return false;
	}

	private boolean isDba(List<String> roles) {
		if (roles.contains("ROLE_DBA")) {
			return true;
		}
		return false;
	}

}
Notice how we are extending Spring SimpleUrlAuthenticationSuccessHandler class and overriding handle() method which simply invokes a redirect using configured RedirectStrategy [default in this case] with the URL returned by the user defined determineTargetUrl method. This method extracts the Roles of currently logged in user from Authentication object and then construct appropriate URL based on there roles. Finally RedirectStrategy , which is responsible for all redirections within Spring Security framework , redirects the request to specified URL.
Step 2: Register Custom Success Handler with [existing] Security Configuration
package com.websystique.springsecurity.configuration;

import org.springframework.beans.factory.annotation.Autowired;
import org.springframework.beans.factory.annotation.Qualifier;
import org.springframework.context.annotation.Configuration;
import org.springframework.security.config.annotation.authentication.builders.AuthenticationManagerBuilder;
import org.springframework.security.config.annotation.web.builders.HttpSecurity;
import org.springframework.security.config.annotation.web.configuration.EnableWebSecurity;
import org.springframework.security.config.annotation.web.configuration.WebSecurityConfigurerAdapter;
import org.springframework.security.core.userdetails.UserDetailsService;

@Configuration
@EnableWebSecurity
public class SecurityConfiguration extends WebSecurityConfigurerAdapter {

	@Autowired
	@Qualifier("customUserDetailsService")
	UserDetailsService userDetailsService;

	@Autowired
	CustomSuccessHandler customSuccessHandler;


	@Autowired
	public void configureGlobalSecurity(AuthenticationManagerBuilder auth) throws Exception {
		auth.userDetailsService(userDetailsService);
	}

	@Override
	protected void configure(HttpSecurity http) throws Exception {
	  http.authorizeRequests()
	  	//.antMatchers("/", "/home").permitAll()
	  	.antMatchers("/", "/home").access("hasRole('USER')")
	  	.antMatchers("/admin/**").access("hasRole('ADMIN')")
	  	.antMatchers("/db/**").access("hasRole('ADMIN') and hasRole('DBA')")
	  	//.and().formLogin().loginPage("/login")
	  	.and().formLogin().loginPage("/login").successHandler(customSuccessHandler)
	  	.usernameParameter("ssoId").passwordParameter("password")
	  	.and().csrf()
	  	.and().exceptionHandling().accessDeniedPage("/Access_Denied");
	}

}
What changes compare to previous Hibernate post is an extra call to successHandler() as highlighted below:
formLogin().loginPage("/login").successHandler(customSuccessHandler).
Look at successHandler. This is the class responsible for eventual redirection based on any custom logic, which in our case will be to redirect the user [to home/admin/db ] based on his role [USER/ADMIN/DBA].
Additionally, we have also protected the home page, under USER role, to make example more realistic.
That’s it. Just add this class in configuration package and register it as success-handler with Security Configuration (as shown above).
Above security configuration in XML configuration format would be:
<beans:beans xmlns="http://www.springframework.org/schema/security"
    xmlns:beans="http://www.springframework.org/schema/beans"
    xmlns:xsi="http://www.w3.org/2001/XMLSchema-instance"
    xsi:schemaLocation="http://www.springframework.org/schema/beans http://www.springframework.org/schema/beans/spring-beans-4.1.xsd
    http://www.springframework.org/schema/security http://www.springframework.org/schema/security/spring-security-4.0.xsd">

    <http auto-config="true" >
        <intercept-url pattern="/" access="permitAll" />
        <intercept-url pattern="/home" access="permitAll" />
        <intercept-url pattern="/admin**" access="hasRole('ADMIN')" />
        <intercept-url pattern="/dba**" access="hasRole('ADMIN') and hasRole('DBA')" />
        <form-login  login-page="/login"
                     username-parameter="ssoId"
                     password-parameter="password"
                     authentication-success-handler-ref="customSuccessHandler"
                     authentication-failure-url="/Access_Denied" />
        <csrf/>
    </http>

    <authentication-manager >
        <authentication-provider user-service-ref="customUserDetailsService"/>
    </authentication-manager>

    <beans:bean id="customUserDetailsService" class="com.websystique.springsecurity.service.CustomUserDetailsService" />
    <beans:bean id="customSuccessHandler"     class="com.websystique.springsecurity.configuration.CustomSuccessHandler" />

</beans:beans>
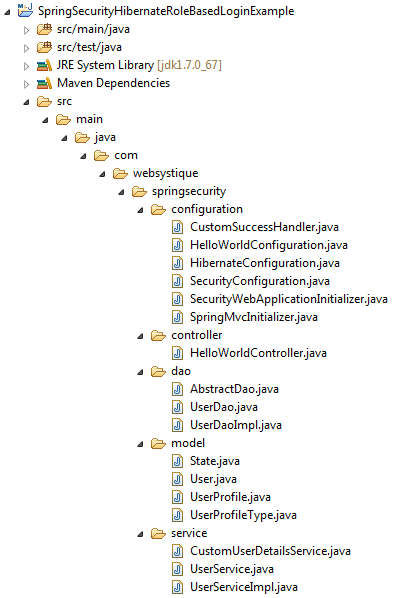
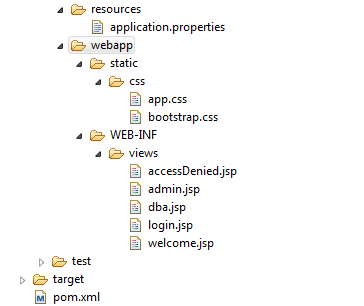
Project Directory Structure
Build and Deploy the application
Download the code and build the war (either by eclipse/m2eclipse) or via maven command line( mvn clean install). Deploy the war to a Servlet 3.0 container . Since here i am using Tomcat, i will simply put this war file into tomcat webapps folder and click on start.bat inside tomcat bin directory.
FYI, We will be using same Schema/Users/Roles as defined in previous post.
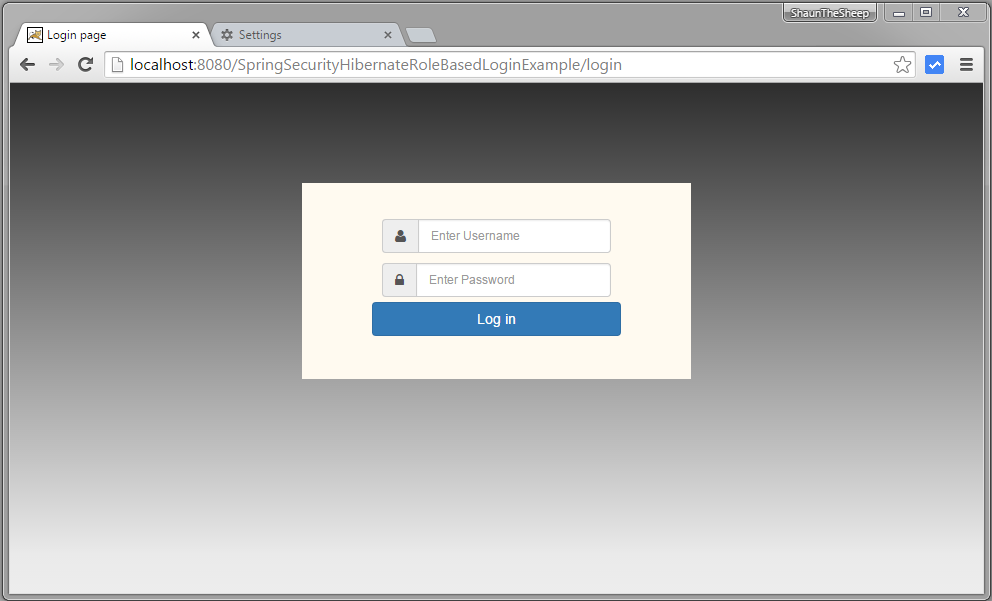
Open browser and goto localhost:8080/SpringSecurityHibernateRoleBasedLoginExample/, you will be prompted for login.

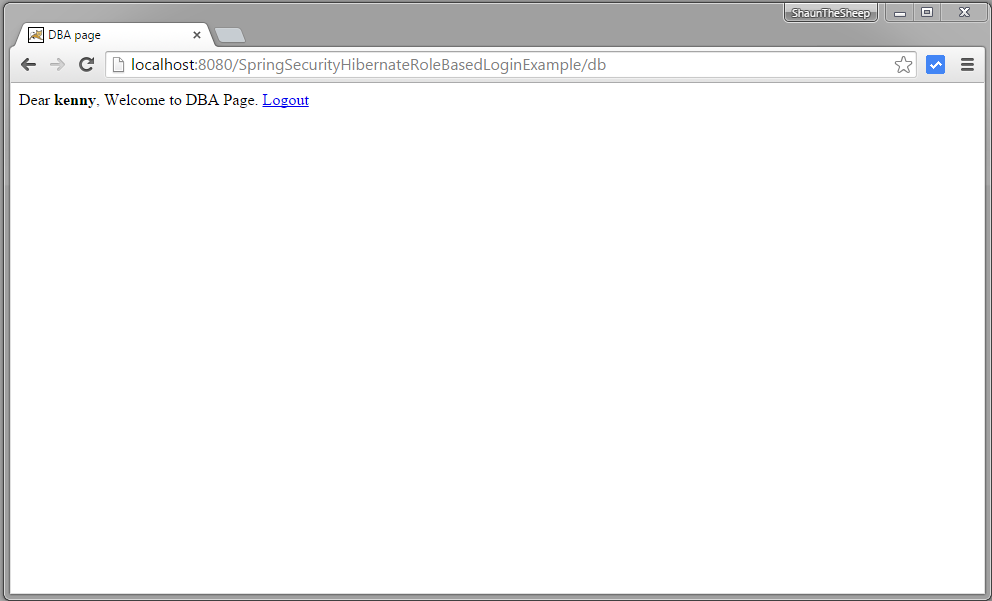
Provide credentials of DBA
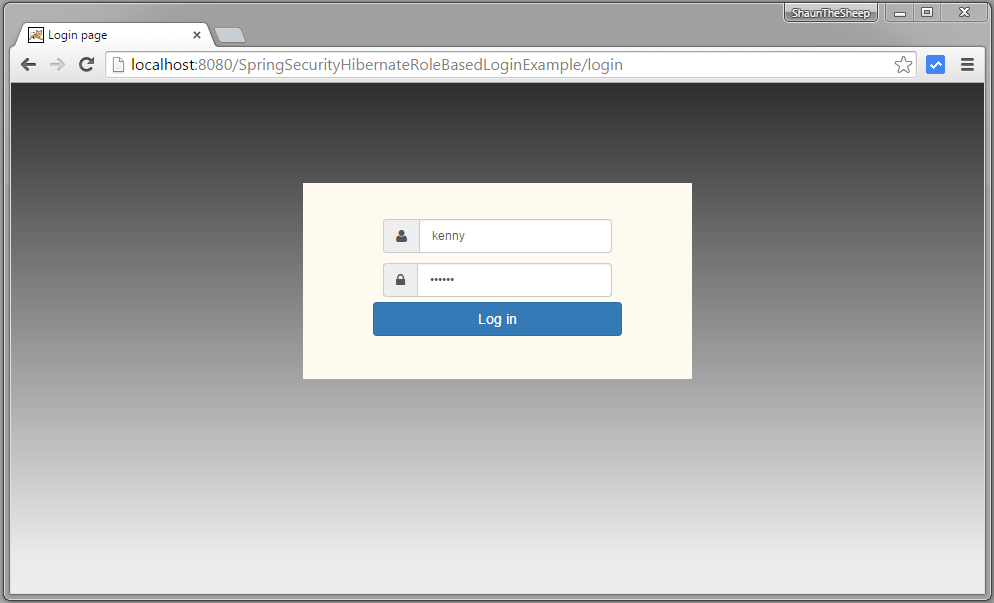
submit, you will be taken directly to /db page as the logged-in user has DBA role. ROLE-BASED-LOGIN
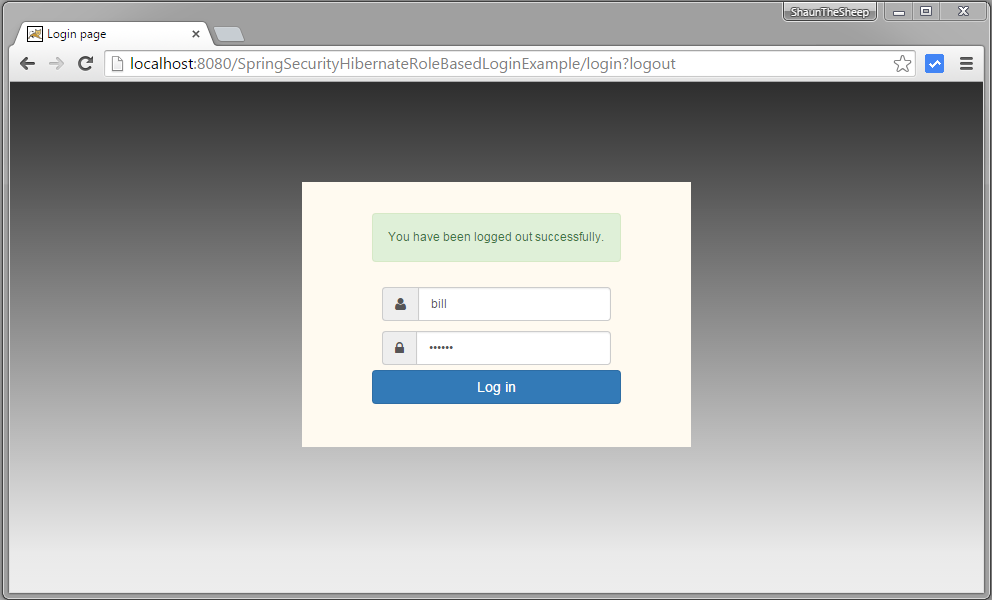
Now logout, and fill-in credentials of a USER role.
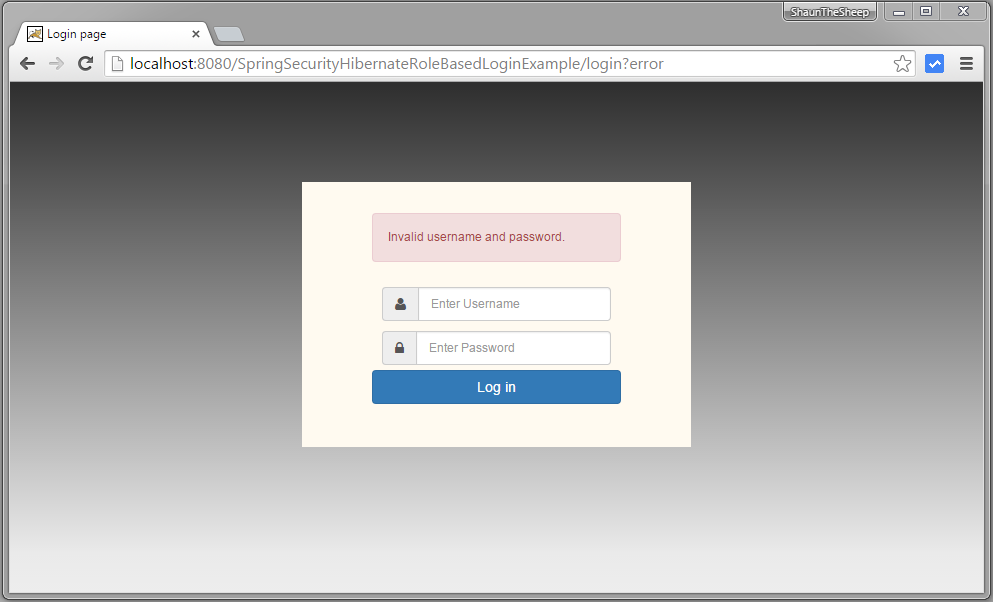
Provide wrong password & Submit.
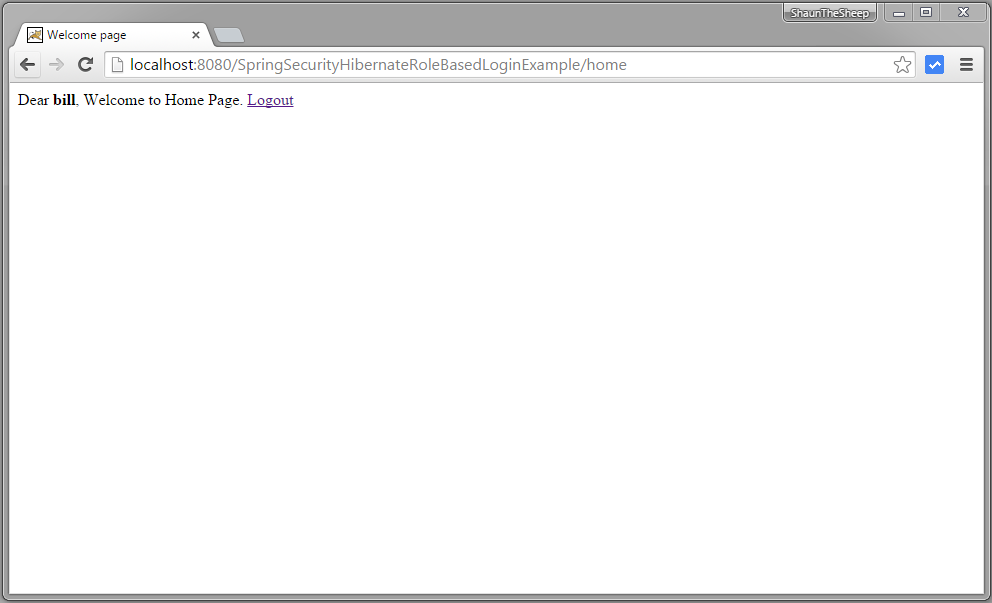
Provide correct USER role credentials, you will be redirected to home page.
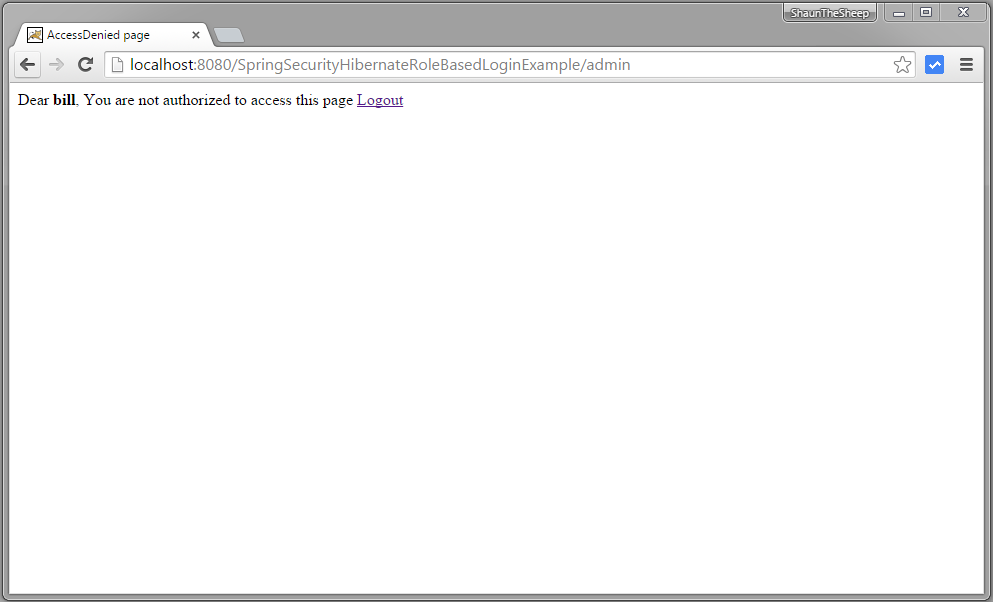
Now try to access admin page.You should see AccessDenied page.
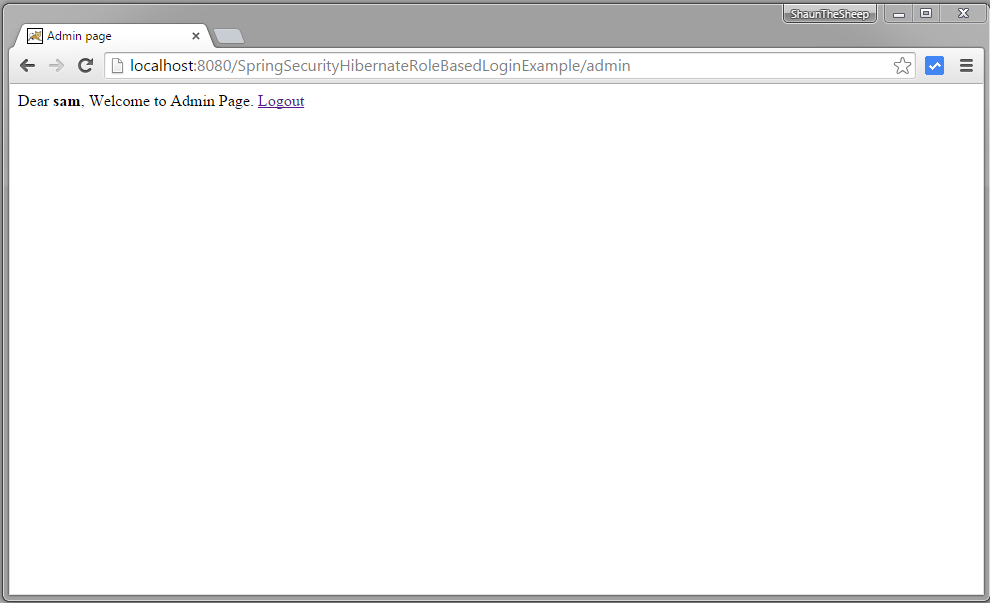
Now logout and login with ADMIN credentials, you will be taken to /admin URL.
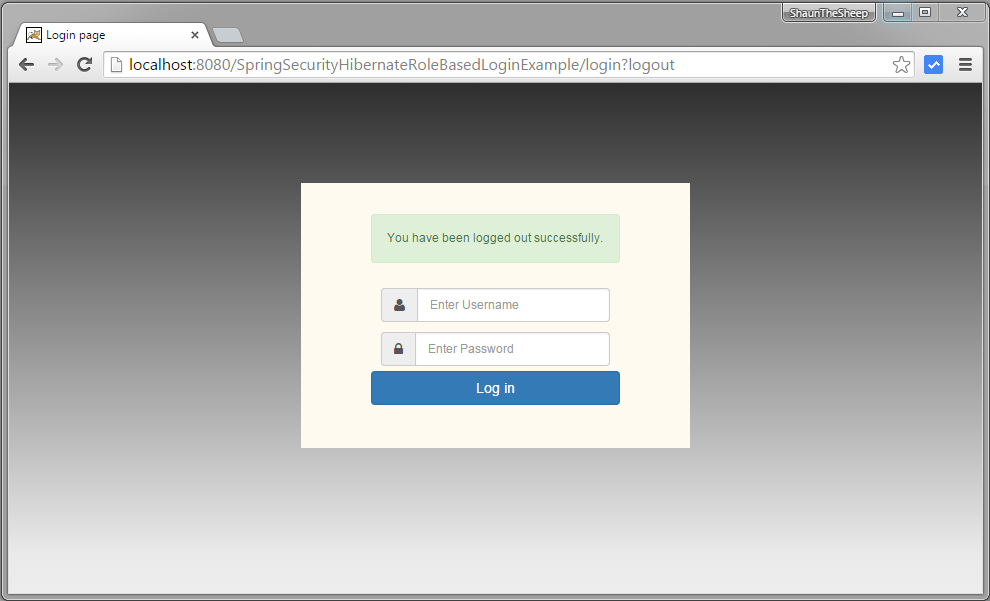
Logout.
That’s it. Next post shows you Password Encoding in Spring Security using BCryptPasswordEncoder.
Download Source Code
References
If you like tutorials on this site, why not take a step further and connect me on Facebook , Google Plus & Twitter as well? I would love to hear your thoughts on these articles, it will help improve further our learning process.