This tutorial shows you how to secure view layer, show/hide parts of jsp/view based on logged-in user’s roles, using Spring Security tags in Spring MVC web application. Let’s get going.
- Spring Boot+AngularJS+Spring Data+Hibernate+MySQL CRUD App
- Spring Boot REST API Tutorial
- Spring Boot WAR deployment example
- Secure Spring REST API using OAuth2
- Spring Boot Introduction + Hello World Example
- AngularJS+Spring Security using Basic Authentication
- Secure Spring REST API using Basic Authentication
- Spring MVC 4+Spring Security 4 + Hibernate Integration Example
- Spring 4 Caching Annotations Tutorial
- Spring 4 Cache Tutorial with EhCache
- Spring 4 MVC+JPA2+Hibernate Many-to-many Example
- Spring 4 Email Template Library Example
- Spring 4 Email With Attachment Tutorial
- Spring 4 Email Integration Tutorial
- Spring MVC 4+JMS+ActiveMQ Integration Example
- Spring 4+JMS+ActiveMQ @JmsLister @EnableJms Example
- Spring 4+JMS+ActiveMQ Integration Example
- Spring MVC 4+AngularJS Example
- Spring MVC 4+AngularJS Routing with UI-Router Example
- Spring MVC 4 HelloWorld – Annotation/JavaConfig Example
- Spring MVC 4+Hibernate 4+MySQL+Maven integration example
- Spring 4 Hello World Example
- Spring Security 4 Hello World Annotation+XML Example
- Hibernate MySQL Maven Hello World Example (Annotation)
- TestNG Hello World Example
- JAXB2 Helloworld Example
- Spring Batch- Read a CSV file and write to an XML file
First of all, in order to use Spring Security tags, we need to include spring-security-taglibs dependency in pom.xml as shown below:
		<dependency>
			<groupId>org.springframework.security</groupId>
			<artifactId>spring-security-taglibs</artifactId>
			<version>4.0.1.RELEASE</version>
		</dependency>
Then the next step would be to include taglib in your views/JSP’s.
<%@ taglib prefix="sec" uri="http://www.springframework.org/security/tags"%>
Finally, we can use Spring Security expresssions like hasRole, hasAnyRole, etc.. in Views as shown below:
<%@ page language="java" contentType="text/html; charset=ISO-8859-1" pageEncoding="ISO-8859-1"%>
<%@ taglib prefix="c" uri="http://java.sun.com/jsp/jstl/core"%>
<%@ taglib prefix="sec" uri="http://www.springframework.org/security/tags"%>
<html>
<head>
	<meta http-equiv="Content-Type" content="text/html; charset=ISO-8859-1">
	<title>Welcome page</title>
</head>
<body>
	Dear <strong>${user}</strong>, Welcome to Home Page.
	<a href="<c:url value="/logout" />">Logout</a>

	<br/>
	<br/>
	<div>
		<label>View all information| This part is visible to Everyone</label>
	</div>

	<br/>
	<div>
		<sec:authorize access="hasRole('ADMIN')">
			<label><a href="#">Edit this page</a> | This part is visible only to ADMIN</label>
		</sec:authorize>
	</div>

	<br/>
	<div>
		<sec:authorize access="hasRole('ADMIN') and hasRole('DBA')">
			<label><a href="#">Start backup</a> | This part is visible only to one who is both ADMIN & DBA</label>
		</sec:authorize>
	</div>
</html>
That’s all you need to conditionally show/hide view fragments based on roles, using Spring Security expressions in your Views.
Below is the Security Configuration used for this example:
package com.websystique.springsecurity.configuration;

import org.springframework.beans.factory.annotation.Autowired;
import org.springframework.context.annotation.Configuration;
import org.springframework.security.config.annotation.authentication.builders.AuthenticationManagerBuilder;
import org.springframework.security.config.annotation.web.builders.HttpSecurity;
import org.springframework.security.config.annotation.web.configuration.EnableWebSecurity;
import org.springframework.security.config.annotation.web.configuration.WebSecurityConfigurerAdapter;

@Configuration
@EnableWebSecurity
public class SecurityConfiguration extends WebSecurityConfigurerAdapter {


	@Autowired
	public void configureGlobalSecurity(AuthenticationManagerBuilder auth) throws Exception {
		auth.inMemoryAuthentication().withUser("bill").password("abc123").roles("USER");
		auth.inMemoryAuthentication().withUser("admin").password("root123").roles("ADMIN");
		auth.inMemoryAuthentication().withUser("dba").password("root123").roles("ADMIN","DBA");
	}

	@Override
	protected void configure(HttpSecurity http) throws Exception {

	  http.authorizeRequests()
	  	.antMatchers("/", "/home").access("hasRole('USER') or hasRole('ADMIN') or hasRole('DBA')")
	  	.and().formLogin().loginPage("/login")
	  	.usernameParameter("ssoId").passwordParameter("password")
	  	.and().exceptionHandling().accessDeniedPage("/Access_Denied");
	}
}
Above security configuration in XML configuration format would be:
<beans:beans xmlns="http://www.springframework.org/schema/security"
    xmlns:beans="http://www.springframework.org/schema/beans"
    xmlns:xsi="http://www.w3.org/2001/XMLSchema-instance"
    xsi:schemaLocation="http://www.springframework.org/schema/beans http://www.springframework.org/schema/beans/spring-beans-4.1.xsd
    http://www.springframework.org/schema/security http://www.springframework.org/schema/security/spring-security-4.0.xsd">

    <http auto-config="true" >
        <intercept-url pattern="/"     access="hasRole('USER') or hasRole('ADMIN') or hasRole('DBA')" />
        <intercept-url pattern="/home" access="hasRole('USER') or hasRole('ADMIN') or hasRole('DBA')" />
        <form-login  login-page="/login"
                     username-parameter="ssoId"
                     password-parameter="password"
                     authentication-failure-url="/Access_Denied" />
    </http>

    <authentication-manager >
        <authentication-provider>
            <user-service>
                <user name="bill"  password="abc123"  authorities="ROLE_USER" />
                <user name="admin" password="root123" authorities="ROLE_ADMIN" />
                <user name="dba"   password="root123" authorities="ROLE_ADMIN,ROLE_DBA" />
            </user-service>
        </authentication-provider>
    </authentication-manager>


</beans:beans>
And the controller:
package com.websystique.springsecurity.controller;

import javax.servlet.http.HttpServletRequest;
import javax.servlet.http.HttpServletResponse;

import org.springframework.security.core.Authentication;
import org.springframework.security.core.context.SecurityContextHolder;
import org.springframework.security.core.userdetails.UserDetails;
import org.springframework.security.web.authentication.logout.SecurityContextLogoutHandler;
import org.springframework.stereotype.Controller;
import org.springframework.ui.ModelMap;
import org.springframework.web.bind.annotation.RequestMapping;
import org.springframework.web.bind.annotation.RequestMethod;

@Controller
public class HelloWorldController {


	@RequestMapping(value = { "/", "/home" }, method = RequestMethod.GET)
	public String homePage(ModelMap model) {
		model.addAttribute("user", getPrincipal());
		return "welcome";
	}

	@RequestMapping(value = "/Access_Denied", method = RequestMethod.GET)
	public String accessDeniedPage(ModelMap model) {
		model.addAttribute("user", getPrincipal());
		return "accessDenied";
	}

	@RequestMapping(value = "/login", method = RequestMethod.GET)
	public String loginPage() {
		return "login";
	}

	@RequestMapping(value="/logout", method = RequestMethod.GET)
	public String logoutPage (HttpServletRequest request, HttpServletResponse response) {
		Authentication auth = SecurityContextHolder.getContext().getAuthentication();
		if (auth != null){
			new SecurityContextLogoutHandler().logout(request, response, auth);
		}
		return "redirect:/login?logout";
	}

	private String getPrincipal(){
		String userName = null;
		Object principal = SecurityContextHolder.getContext().getAuthentication().getPrincipal();

		if (principal instanceof UserDetails) {
			userName = ((UserDetails)principal).getUsername();
		} else {
			userName = principal.toString();
		}
		return userName;
	}

}
Rest of application code is same as other posts in this series.
Deploy & Run
Download complete code of this project using download button shown at the bottom of this post. Build and deploy it on Servlet 3.0 container(Tomcat7/8).
Open browser and access homepage at localhost:8080/SpringSecuritySecureViewFragmentsUsingSecurityTaglibs/, you will be prompted for login.
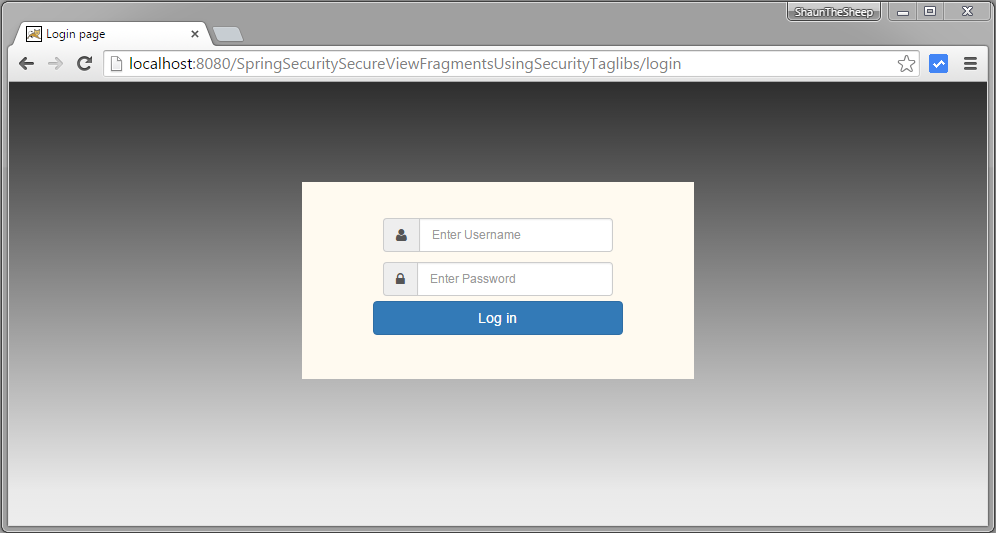
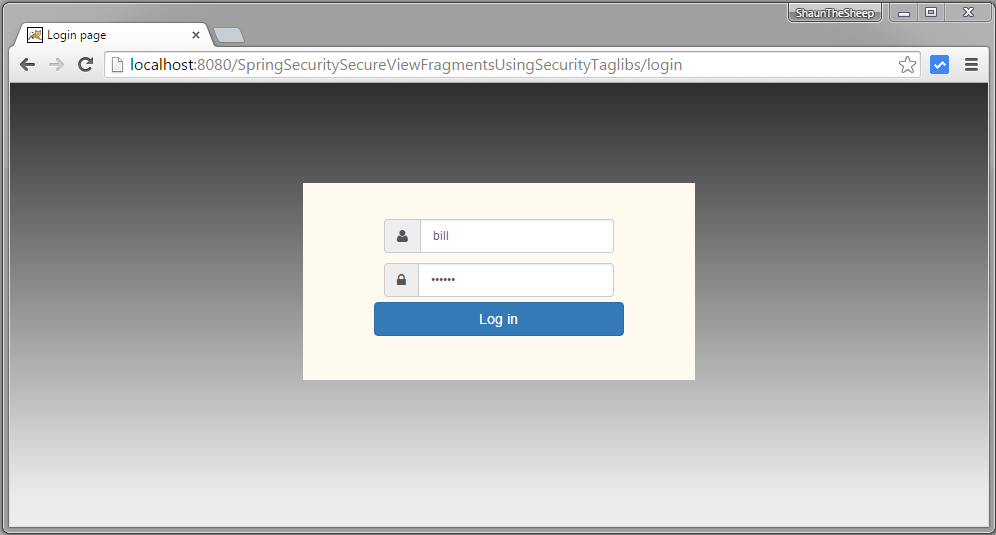
Provide USER credentials.
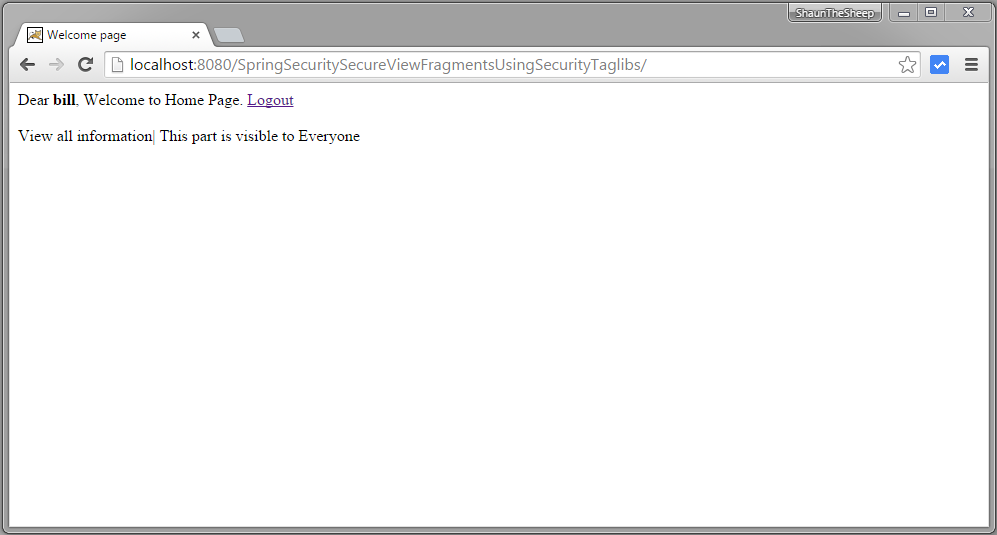
You can see that limited information is shown on page.
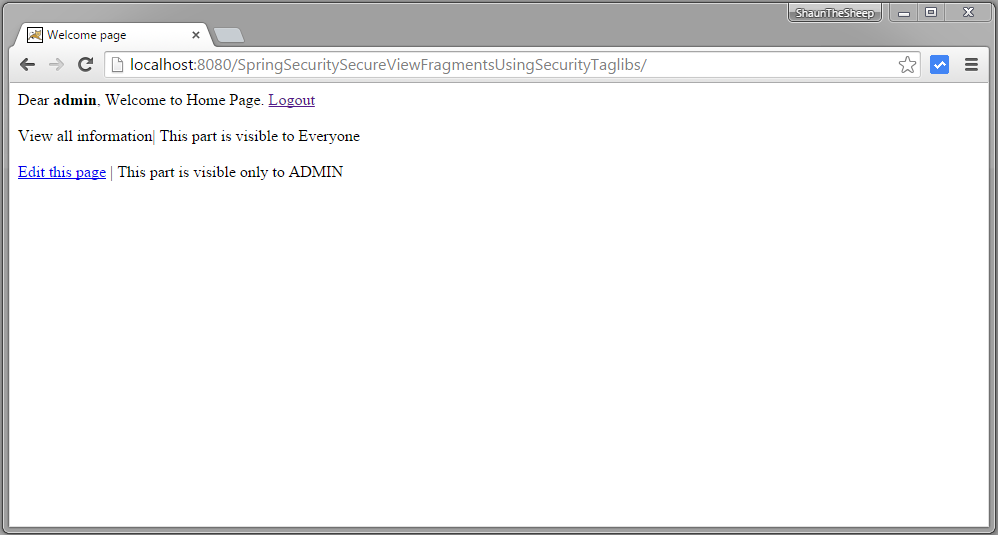
Now click on logout and login with ADMIN role
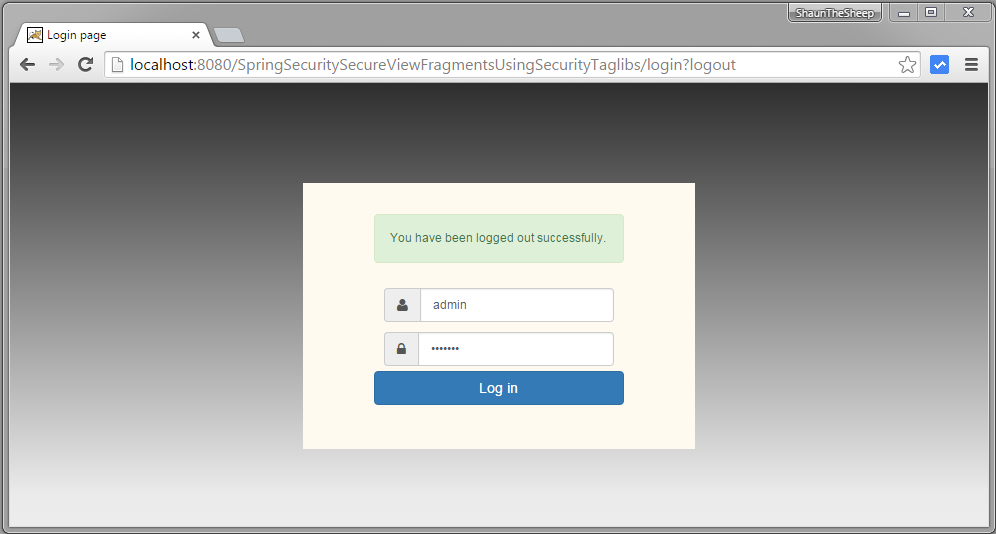
Submit, you will see that operation related to ADMIN role is accessible.
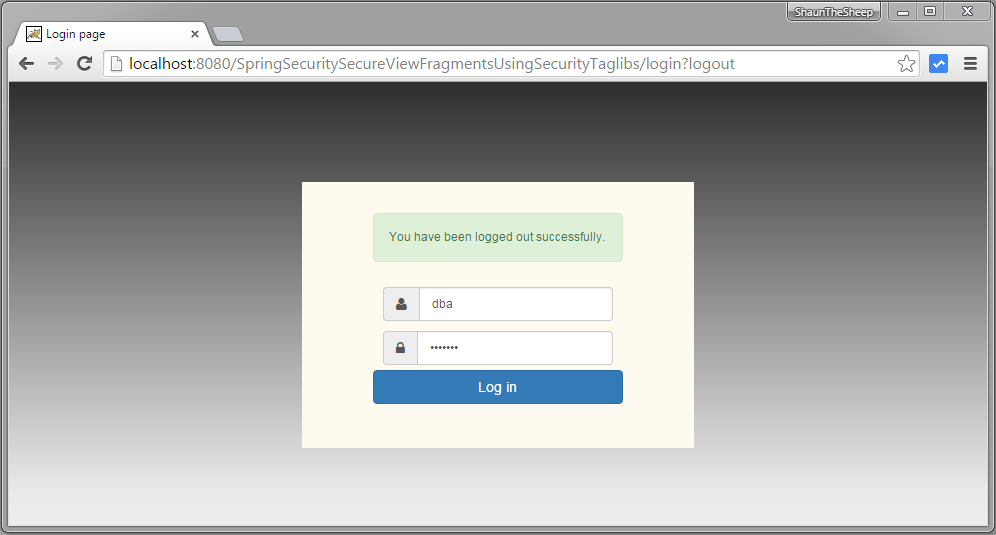
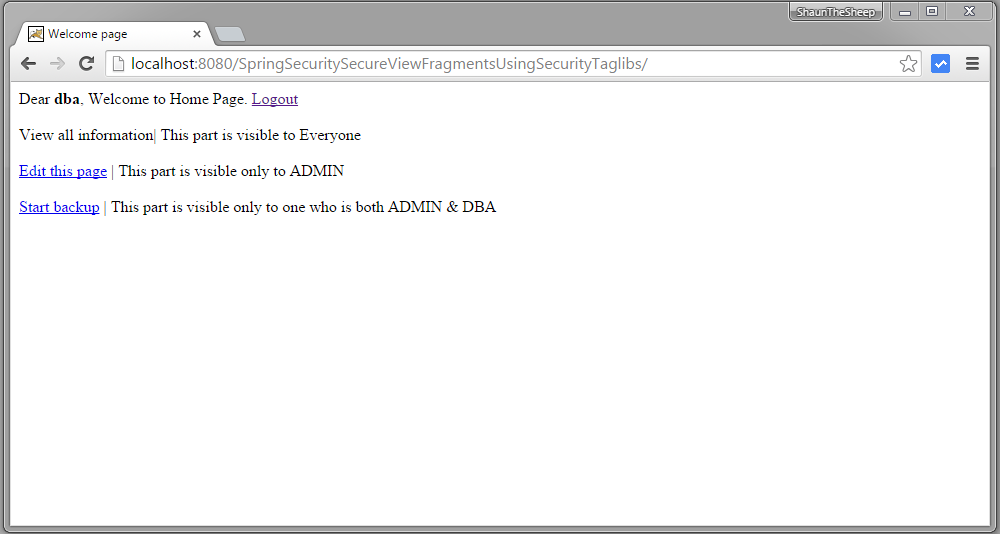
Now logout, and login with DBA role.
Submit, you will see that operation related to DBA role is accessible.
That’s it. Next post shows you how to use role based login. That means redirecting users to different URLs upon login according to their assigned roles.
Download Source Code
References
If you like tutorials on this site, why not take a step further and connect me on Facebook , Google Plus & Twitter as well? I would love to hear your thoughts on these articles, it will help improve further our learning process.